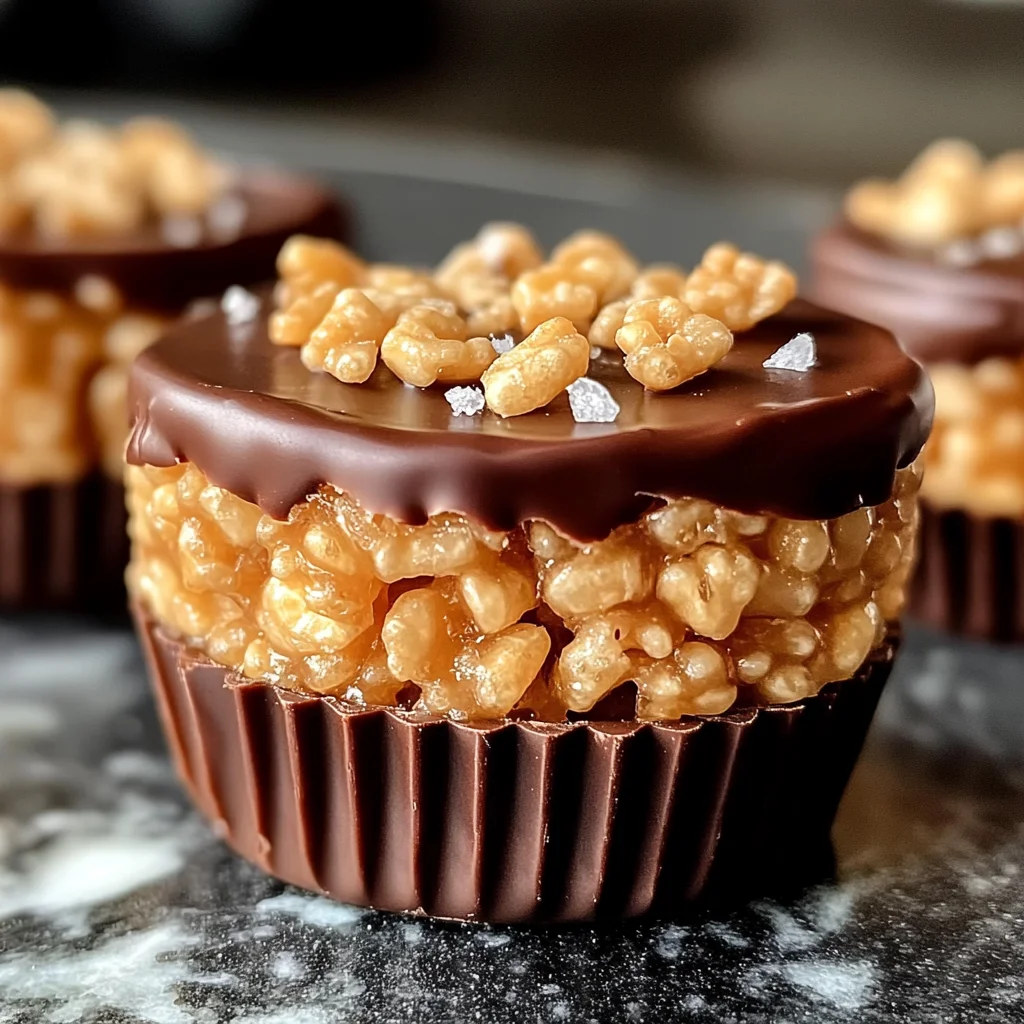
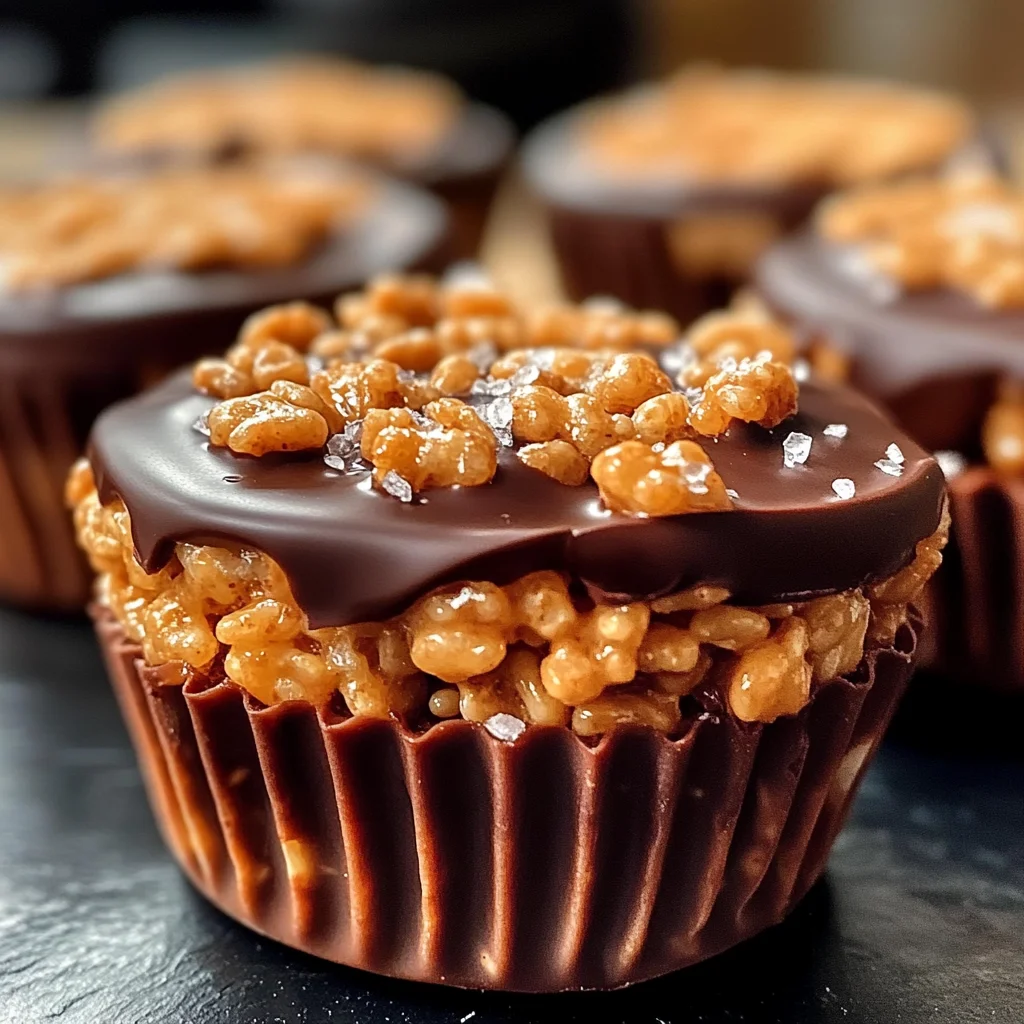
Chocolate Peanut Butter Rice Krispie Cups
Quick, easy, and irresistibly delicious, these no-bake Chocolate Peanut Butter Rice Krispie Cups are the ultimate treat! The perfect balance of creamy peanut butter, rich chocolate, and crispy Rice Krispies creates a snack everyone will adore. Whether for parties, family gatherings, or a sweet pick-me-up, these cups are guaranteed to satisfy your cravings!
Why You’ll Love This Recipe
- Effortless Preparation: This recipe requires no baking, making it quick and simple to whip up.
- Decadent Flavor: With a combination of chocolate and peanut butter, every bite is a flavor explosion.
- Versatile Treat: Perfect for various occasions like birthday parties, holidays, or just a cozy night in.
- Family-Friendly: Kids love them! These cups make for an enjoyable cooking project together.
- Customizable Options: Easily adapt the recipe by adding nuts or using different types of chocolate.
Tools and Preparation
To create your Chocolate Peanut Butter Rice Krispie Cups seamlessly, you’ll need some essential tools.
Essential Tools and Equipment
- Muffin tin
- Paper liners
- Medium saucepan
- Mixing bowl
- Microwave-safe bowl
- Spatula
Importance of Each Tool
- Muffin tin: Essential for shaping your cups consistently and uniformly.
- Mixing bowl: Provides ample space to combine ingredients without mess.
- Spatula: Helps in folding the mixture gently to avoid crushing the Rice Krispies.
Ingredients
For the Base
- 3 cups Rice Krispies cereal
- 1 cup creamy peanut butter
- 1/2 cup unsalted butter
- 1 cup mini marshmallows
For the Topping
- 1 cup chocolate chips
- 1/2 tsp vanilla extract (optional)
- Pinch of sea salt (optional)
How to Make Chocolate Peanut Butter Rice Krispie Cups
Step 1: Melt the Base
In a medium saucepan over low heat, melt the unsalted butter and mini marshmallows while stirring consistently until smooth.
Step 2: Add Peanut Butter
Stir in the creamy peanut butter and vanilla extract (if using) until fully combined and creamy.
Step 3: Mix with Cereal
Pour the Rice Krispies into a large bowl. Add the peanut butter mixture and gently fold until all the cereal is coated evenly.
Step 4: Shape the Cups
Line a muffin tin with paper liners. Spoon the mixture evenly into each cup and press down gently to form a flat surface.
Step 5: Add Chocolate Layer
Melt the chocolate chips in a microwave-safe bowl in 20-second intervals, stirring in between. Spoon melted chocolate over each cup and spread evenly. Sprinkle with sea salt if desired.
Step 6: Set & Serve
Allow the cups to cool at room temperature for 20 minutes or place them in the refrigerator to set faster. Once firm, remove the paper liners and serve!
How to Serve Chocolate Peanut Butter Rice Krispie Cups
These delightful treats can be enjoyed in various ways that enhance their flavor and presentation. Whether you’re serving them at a party or enjoying them as a solo snack, here are some creative ideas to elevate your experience.
Dessert Platter
- Create a dessert platter with an assortment of sweets. Place the Chocolate Peanut Butter Rice Krispie Cups alongside cookies, brownies, and fruit for a colorful and varied selection.
Ice Cream Topping
- Crumble the cups over a scoop of vanilla or chocolate ice cream. The combination of creamy ice cream with crunchy cups adds texture and flavor.
Party Favors
- Wrap each cup in clear cellophane and tie with a ribbon. These make excellent party favors that guests will appreciate taking home.
Movie Night Snack
- Serve these cups as part of your movie night spread. Pair them with popcorn and candy for a fun cinema experience at home.
Birthday Treats
- Use the cups as a unique addition to birthday celebrations. They can replace traditional cupcakes or serve as part of a dessert table.
Picnic Snack
- Pack these cups in your picnic basket for a sweet treat outdoors. They are easy to transport and require no refrigeration, making them perfect for an outing.
How to Perfect Chocolate Peanut Butter Rice Krispie Cups
To ensure you create the best Chocolate Peanut Butter Rice Krispie Cups, follow these simple tips. They will help you achieve the ideal texture and flavor while making the process easier.
-
Use Fresh Ingredients: Always check the freshness of your ingredients, especially marshmallows and peanut butter. Fresh ingredients yield better taste.
-
Melt Slowly: When melting butter and marshmallows, do it slowly over low heat. This prevents burning and ensures a smooth mixture.
-
Don’t Overmix: When combining the Rice Krispies with the peanut butter mixture, fold gently. Overmixing can lead to tough cups instead of light and crispy ones.
-
Chill Before Serving: Allowing the cups to chill in the fridge for at least 20 minutes helps them set properly, making them easier to remove from liners without breaking apart.
Best Side Dishes for Chocolate Peanut Butter Rice Krispie Cups
Pair your Chocolate Peanut Butter Rice Krispie Cups with complementary side dishes for a well-rounded snack or dessert spread. Here are some great options:
-
Fresh Fruit Salad: A mix of seasonal fruits adds brightness and freshness that balances the sweetness of the cups.
-
Chocolate-Dipped Strawberries: These classic treats provide an extra chocolate boost while being easy to prepare for any occasion.
-
Vanilla Yogurt Parfait: Layer yogurt with granola and berries for a creamy side that contrasts nicely with the crunchiness of the cups.
-
Cheese Platter: Include soft cheeses like Brie or Camembert alongside crackers for a savory element that pairs well with sweet treats.
-
Nut Mix: Offer a bowl of mixed nuts for those who enjoy crunchy snacks; this adds protein and healthy fats to your dessert table.
-
Coffee or Tea: Serve hot beverages like coffee or tea beside your treats; they enhance flavors while providing warmth during chilly days.
-
Mini Pretzels: Their salty crunch complements the sweet chocolate peanut butter flavor beautifully, creating an irresistible combination.
Common Mistakes to Avoid
Making Chocolate Peanut Butter Rice Krispie Cups can be fun, but there are a few common mistakes that can affect the outcome. Here are some tips on what to watch out for.
- Skipping the Butter: Not using enough butter can make the mixture dry and hard to bind. Make sure you melt the right amount for a creamy texture.
- Overheating Marshmallows: If you cook marshmallows too long, they can become hard. Stir them gently over low heat until just melted for the best results.
- Not Folding Gently: Mixing too vigorously can crush the Rice Krispies, resulting in a less crispy texture. Use a gentle folding motion when combining ingredients.
- Neglecting to Cool Properly: Rushing the cooling process can cause the chocolate layer to melt into the peanut butter mixture. Allow enough time for it to set before serving.
- Ignoring Storage Tips: Storing them improperly can lead to soggy cups. Keep your treats in an airtight container at room temperature for optimal freshness.
Storage & Reheating Instructions
Refrigerator Storage
- Store your Chocolate Peanut Butter Rice Krispie Cups in an airtight container.
- They will stay fresh for up to one week in the refrigerator.
Freezing Chocolate Peanut Butter Rice Krispie Cups
- Wrap each cup tightly in plastic wrap or foil before placing them in a freezer-safe container.
- They can last up to three months in the freezer.
Reheating Chocolate Peanut Butter Rice Krispie Cups
- Oven: Preheat your oven to 300°F (150°C) and warm for about 5-10 minutes until slightly soft.
- Microwave: Place a cup on a microwave-safe plate and heat for about 10-15 seconds or until warm.
- Stovetop: Use a non-stick pan over low heat, warming each cup gently while flipping occasionally.
Frequently Asked Questions
If you’re curious about making Chocolate Peanut Butter Rice Krispie Cups, here are some common questions and their answers.
Can I use crunchy peanut butter instead of creamy?
Yes, you can substitute crunchy peanut butter for creamy if you prefer a bit of texture in your cups.
How do I know when my cups have set?
Your Chocolate Peanut Butter Rice Krispie Cups should feel firm to the touch and hold their shape once cooled.
What other toppings can I add?
Feel free to sprinkle additional toppings like chopped nuts, sprinkles, or even drizzles of caramel on top!
How do I make these gluten-free?
Simply use gluten-free Rice Krispies and check that all other ingredients are also gluten-free.
Final Thoughts
These Chocolate Peanut Butter Rice Krispie Cups are not only easy to make but also incredibly versatile! You can customize them with various toppings or by adding mix-ins like nuts or dried fruit. Whether it’s for a party or just a sweet snack, these cups are sure to bring joy and satisfaction. Give them a try today!
Chocolate Peanut Butter Rice Krispie Cups
Indulge in the delightful combination of creamy peanut butter and rich chocolate with these irresistible Chocolate Peanut Butter Rice Krispie Cups. Perfect for any occasion—from birthday parties to cozy nights in—these no-bake treats are quick and easy to make, taking only 20 minutes from start to finish. Each bite offers a satisfying crunch thanks to the Rice Krispies, balanced beautifully by the smooth layers of peanut butter and chocolate. You can even customize them with your favorite toppings or mix-ins for a unique twist. Treat yourself and your loved ones to this sweet, nostalgic snack that’s bound to become a favorite!
- Prep Time: 10 minutes
- Cook Time: 10 minutes
- Total Time: 20 minutes
- Yield: Approximately 12 cups 1x
- Category: Dessert
- Method: No-bake
- Cuisine: American
Ingredients
- 3 cups Rice Krispies cereal
- 1 cup creamy peanut butter
- 1/2 cup unsalted butter
- 1 cup mini marshmallows
- 1 cup chocolate chips
Instructions
- In a medium saucepan over low heat, melt the unsalted butter and mini marshmallows, stirring until smooth.
- Stir in the creamy peanut butter until fully combined.
- In a large bowl, add the Rice Krispies, then fold in the peanut butter mixture until evenly coated.
- Line a muffin tin with paper liners and spoon the mixture into each cup, pressing down gently.
- Melt chocolate chips in a microwave-safe bowl and spoon over each cup, spreading evenly.
- Let cool at room temperature for 20 minutes or refrigerate until set before serving.
Nutrition
- Serving Size: 1 cup
- Calories: 180
- Sugar: 10g
- Sodium: 100mg
- Fat: 9g
- Saturated Fat: 3g
- Unsaturated Fat: 5g
- Trans Fat: 0g
- Carbohydrates: 25g
- Fiber: 1g
- Protein: 3g
- Cholesterol: 5mg