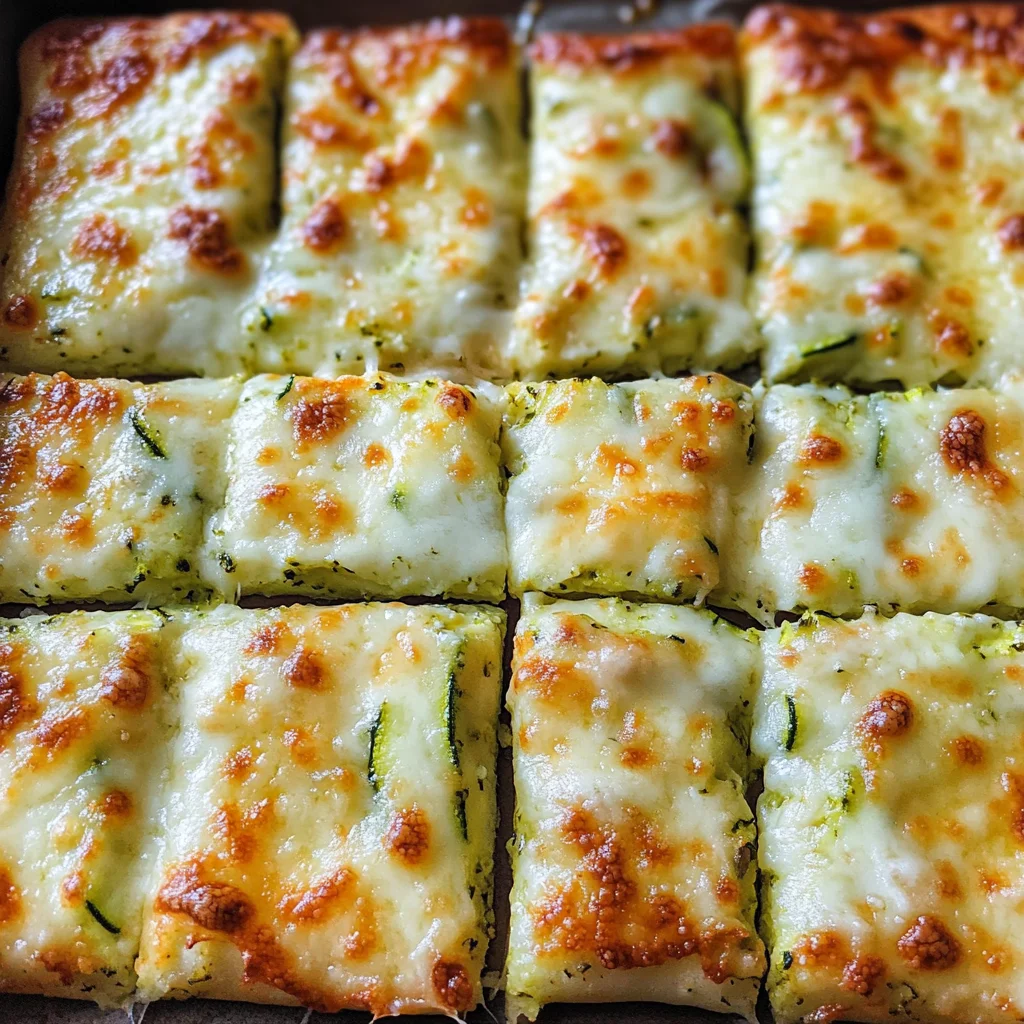
Cheesy Zucchini Breadsticks
Craving Cheesy Zucchini Breadsticks? This delightful recipe is perfect for anyone looking to indulge in cheesy goodness while sticking to a low-carb or keto diet. These breadsticks are not only delicious but also versatile enough to serve as an appetizer, snack, or even a main dish. With their crispy texture and rich flavor, they stand out at any gathering, making them a crowd-pleaser.
Why You’ll Love This Recipe
- Healthy Alternative: Enjoy cheesy bread without the carbs! These zucchini breadsticks are nutritious and satisfying.
- Quick Preparation: With just 20 minutes of prep time, you can whip up this dish in no time.
- Versatile Toppings: Customize with your favorite cheeses or herbs for added flavor.
- Great for Meal Prep: Make a batch ahead of time for easy snacks or side dishes throughout the week.
- Kid-Friendly: Even picky eaters will love these cheesy delights, making them perfect for family meals.
Tools and Preparation
Before diving into the recipe, gather your essential tools to make the cooking process smooth and enjoyable.
Essential Tools and Equipment
- Baking dish
- Grater
- Mixing bowl
- Baking liner (parchment paper)
- Knife
Importance of Each Tool
- Baking dish: Provides an even surface for cooking your zucchini mixture to perfection.
- Grater: Ensures you achieve fine, evenly grated zucchini for the best texture.
- Mixing bowl: Allows for easy mixing of ingredients without mess.
- Baking liner: Prevents sticking and makes clean-up a breeze.
Ingredients
For the Zucchini Mixture
- 4 cup Grated Zucchini
- 1/2 cup Mozzarella Cheese
- 1/3 cup Parmesan Cheese
- 1 Egg
- 1 tsp Garlic Parsley Salt
For the Topping
- 1 cup Grated Cheese of Choice
How to Make Cheesy Zucchini Breadsticks
Step 1: Prepare the Zucchini
- Squeeze all of the juices you can out of the grated zucchini. This step is crucial for achieving a crispy texture.
Step 2: Mix Ingredients
- In a bowl, combine the grated zucchini, mozzarella cheese, parmesan cheese, egg, and garlic salt.
- Stir everything together until well mixed.
Step 3: Bake the Crust
- On a lined baking dish, spread out the zucchini mixture evenly. Aim for a thickness of about half an inch to ensure crispiness.
- Bake at 425°F for 15 minutes until slightly golden.
Step 4: Add Cheese Topping
- After baking, top your crust with your choice of cheese (mozzarella or Mexican cheese works great).
- Bake again for another 2-5 minutes until the cheese melts and turns golden brown.
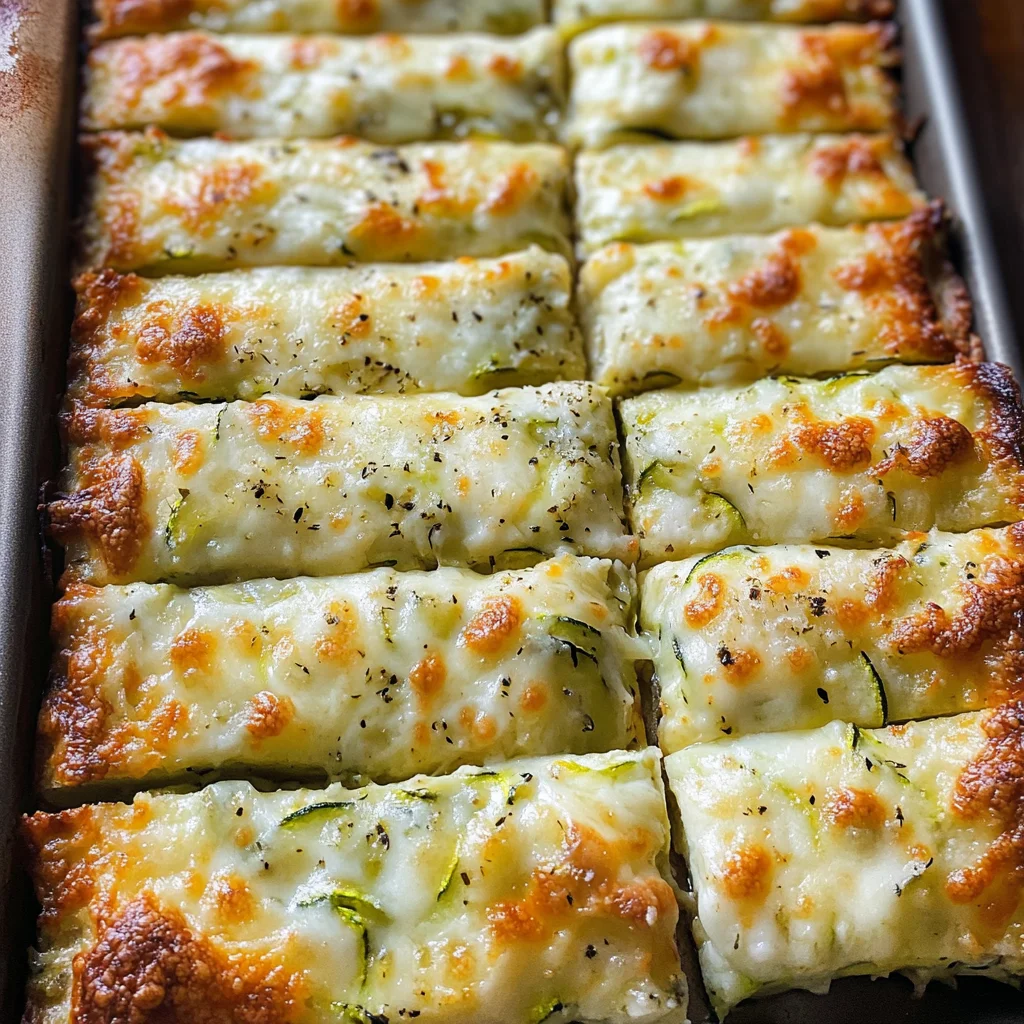
Step 5: Serve Hot
- Slice into sticks and serve while hot for best flavor and texture.
With this simple yet flavorful recipe, you’ll enjoy every bite of these cheesy zucchini breadsticks!
How to Serve Cheesy Zucchini Breadsticks
Cheesy Zucchini Breadsticks are a versatile dish that can be served in various ways. Whether as an appetizer or a main course, these breadsticks can complement many meals or stand alone as a tasty snack.
As a Family Snack
- Perfect for family movie nights, these cheesy breadsticks are easy to share and enjoy together.
With Dipping Sauces
- Pair your breadsticks with marinara, ranch, or garlic butter for an extra flavor boost. These sauces enhance the cheesy goodness.
As an Appetizer
- Serve them at gatherings or parties as a delicious starter. Their cheesy texture and savory taste will impress your guests.
On a Salad Platter
- Add Cheesy Zucchini Breadsticks to a fresh salad platter. They provide a hearty contrast to the crisp greens and dressing.
Alongside Grilled Meats
- These breadsticks work perfectly with grilled chicken or steak, adding a cheesy twist to your protein-rich meal.
How to Perfect Cheesy Zucchini Breadsticks
To achieve the ultimate Cheesy Zucchini Breadsticks, follow these tips for the best results.
- Use Fresh Zucchini: Fresh zucchini retains moisture better and enhances flavor, leading to tastier breadsticks.
- Drain Excess Liquid: Squeeze out as much liquid as possible from the grated zucchini. This helps prevent sogginess and ensures crispiness.
- Spread Thinly: When spreading the zucchini mixture on the baking dish, aim for a half-inch thickness. This allows for even cooking and better crisping.
- Experiment with Cheese: Feel free to mix different cheeses like cheddar or gouda for unique flavors that elevate your breadsticks.
- Serve Hot: Enjoy the breadsticks right after baking while they’re hot and melty for the best taste experience.
Best Side Dishes for Cheesy Zucchini Breadsticks
Cheesy Zucchini Breadsticks make an excellent addition to any meal. Here are some great side dishes that pair wonderfully with them.
- Garden Salad: A light garden salad with fresh veggies balances out the richness of cheese.
- Classic Caesar Salad: The tangy dressing and crunchy croutons complement the soft texture of breadsticks.
- Grilled Vegetables: Seasoned grilled vegetables add color and nutrition alongside cheesy bites.
- Roasted Potatoes: Crispy roasted potatoes provide heartiness and pair well with the cheesy flavor.
- Tomato Soup: A warm bowl of tomato soup makes for perfect dipping alongside your cheesy delight.
- Pasta Primavera: Light pasta tossed with fresh vegetables creates a delightful contrast in textures and flavors.
Common Mistakes to Avoid
Making Cheesy Zucchini Breadsticks can be a delightful experience, but there are common pitfalls that can affect the outcome. Here are some mistakes to avoid:
-
Overlooking moisture removal: Failing to squeeze out excess moisture from the zucchini can result in soggy breadsticks. Always press the grated zucchini thoroughly before mixing.
-
Skipping cheese quality: Using low-quality cheese can affect flavor and texture. Opt for fresh mozzarella and real Parmesan for the best results.
-
Neglecting baking time: Not baking long enough during the first round can lead to undercooked breadsticks. Ensure you bake until edges are golden for a perfect crisp.
-
Ignoring thickness consistency: Spreading the mixture too thickly will prevent even cooking. Aim for a thin layer, about half an inch, to ensure even crispiness.
-
Rushing cooling time: Cutting into the breadsticks too soon can cause them to fall apart. Allow them to cool slightly before slicing for better structure.
Storage & Reheating Instructions
Refrigerator Storage
- Store in an airtight container.
- Lasts up to 4 days in the fridge.
Freezing Cheesy Zucchini Breadsticks
- Wrap tightly in plastic wrap or aluminum foil.
- Freeze for up to 3 months for best quality.
Reheating Cheesy Zucchini Breadsticks
- Oven: Preheat to 350°F and bake for about 10 minutes until heated through.
- Microwave: Heat on medium power in short increments until warm, but note that this may make them less crispy.
- Stovetop: Warm in a skillet over medium heat, flipping occasionally until heated through.
Frequently Asked Questions
Here are some common questions about making Cheesy Zucchini Breadsticks:
Can I use other types of cheese?
Yes! You can customize your Cheesy Zucchini Breadsticks with different cheeses like cheddar or pepper jack for added flavor.
How do I make these gluten-free?
To make gluten-free Cheesy Zucchini Breadsticks, simply ensure no flour is added and that all ingredients are certified gluten-free.
What can I serve with Cheesy Zucchini Breadsticks?
These breadsticks pair well with marinara sauce, ranch dressing, or even as a side dish alongside salads and grilled meats.
How do I store leftovers?
Store any leftover Cheesy Zucchini Breadsticks in an airtight container in the refrigerator for up to 4 days or freeze them for longer storage.
Final Thoughts
Cheesy Zucchini Breadsticks offer an amazing way to enjoy a cheesy snack while keeping it healthy. Their versatility allows you to experiment with different cheeses and spices, making each batch unique. Give this recipe a try, and don’t hesitate to customize it according to your taste!
Cheesy Zucchini Breadsticks
Craving a delicious, guilt-free snack? Our Cheesy Zucchini Breadsticks are the perfect solution for anyone looking to indulge without compromising their low-carb or keto lifestyle. These savory treats combine grated zucchini with rich mozzarella and parmesan cheeses, creating a delightful crispy texture that’s sure to impress at any gathering. Versatile enough to serve as an appetizer, side dish, or even a satisfying main course, these cheesy bites are kid-friendly and easy to make. In just 20 minutes of prep time, you’ll have a mouthwatering dish that’s not only nutritious but also customizable with your favorite toppings. Whether paired with marinara sauce for dipping or enjoyed on their own, these Cheesy Zucchini Breadsticks will quickly become a family favorite.
- Prep Time: 20 minutes
- Cook Time: 20 minutes
- Total Time: 40 minutes
- Yield: Approximately 12 servings 1x
- Category: Appetizer
- Method: Baking
- Cuisine: American
Ingredients
- 4 cups grated zucchini
- 1/2 cup mozzarella cheese
- 1/3 cup parmesan cheese
- 1 egg
- 1 tsp garlic parsley salt
- 1 cup grated cheese of choice (for topping)
Instructions
- Preheat oven to 425°F (220°C).
- Squeeze excess moisture from the grated zucchini.
- In a mixing bowl, combine zucchini, mozzarella, parmesan, egg, and garlic salt until well mixed.
- Spread the mixture evenly in a lined baking dish to about half an inch thick.
- Bake for 15 minutes or until slightly golden.
- Add your choice of cheese on top and bake for an additional 2-5 minutes until melted and golden brown.
- Slice into sticks and serve hot.
Nutrition
- Serving Size: 1 serving
- Calories: 90
- Sugar: 1g
- Sodium: 120mg
- Fat: 6g
- Saturated Fat: 3g
- Unsaturated Fat: 2g
- Trans Fat: 0g
- Carbohydrates: 5g
- Fiber: 1g
- Protein: 5g
- Cholesterol: 30mg